Rebuilt Starters
Ford Model t
Rebuilt Starters
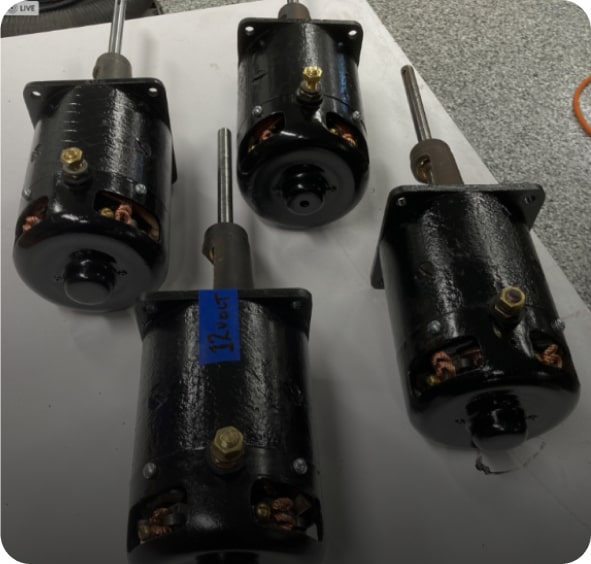
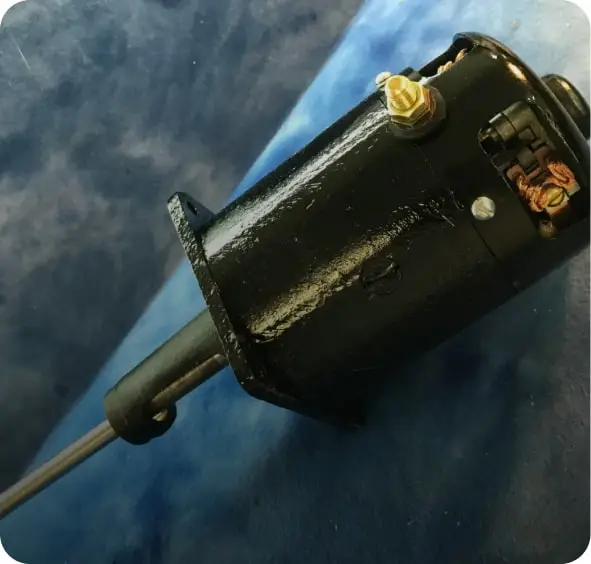
6 Volt Model T Starters
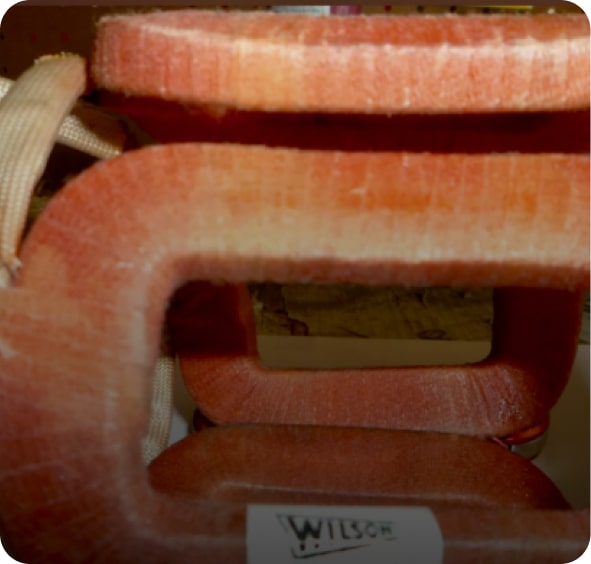
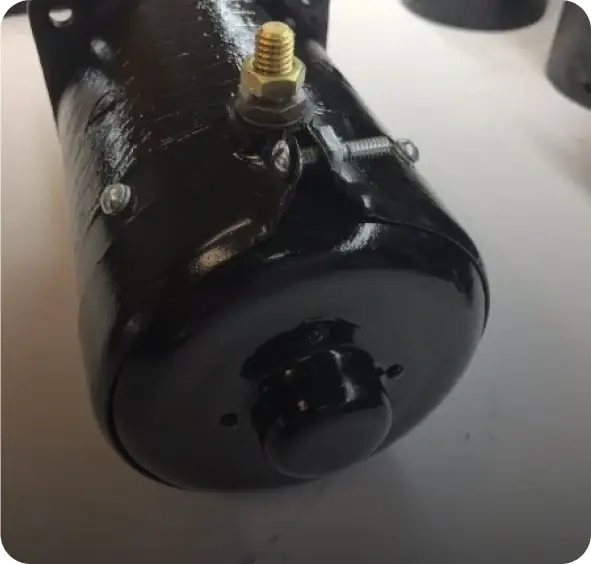
were first installed by Ford in the Model T in 1919. Their design is very simple, a rotating armature powered by strong field coils. But inherent in this early design are several faults. Most notably, the starter post is not securely fastened to the starter housing and is often subjected to over tightening which results in a failed connection. The rear and nose bearings are were babbit and wear out, and the armature brushes only last so long. Field coils are wrapped with cloth tape which disintegrates after being in contact with oil for 100 years. And Ford relied on the interference fit of the brass armature bushing to keep oil out of the starter. As you have probably discovered, old starters leak a lot of oil.
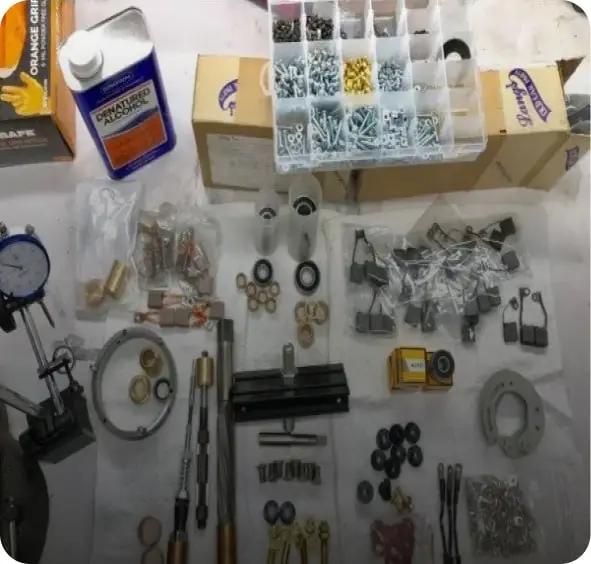
I manufacture several custom parts for these units including solid copper starter posts, brush insulators, brush holders, and bendix bearings.
If you’re looking for a 12 volt starter, take a look at this page
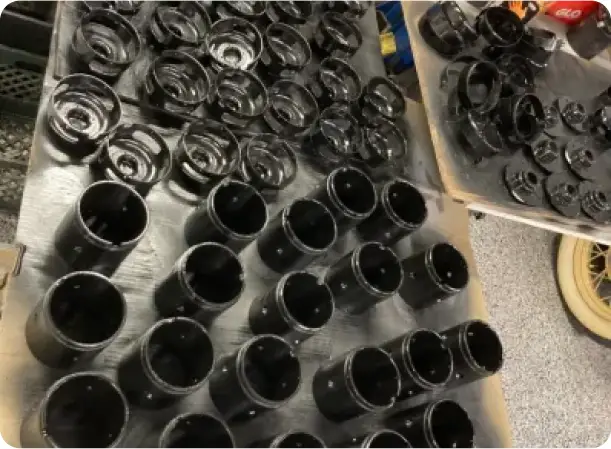
PROCESS USED ON ALL REBUILT STARTERS
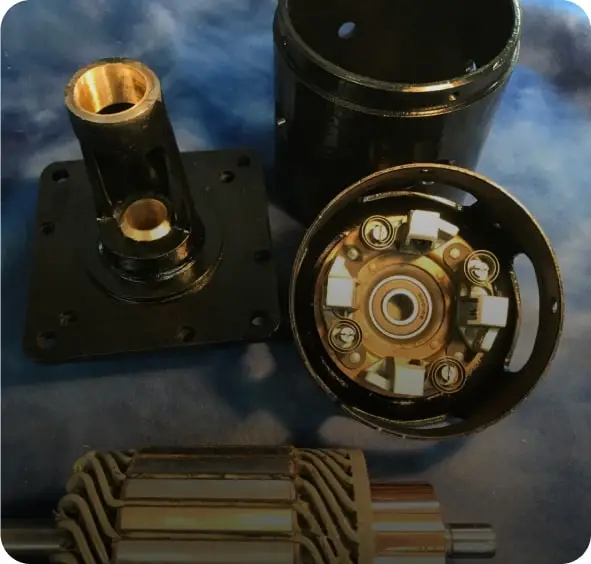
- Completely Disassemble & clean
- Paint all exposed surfaces both inside and out to prevent rust.
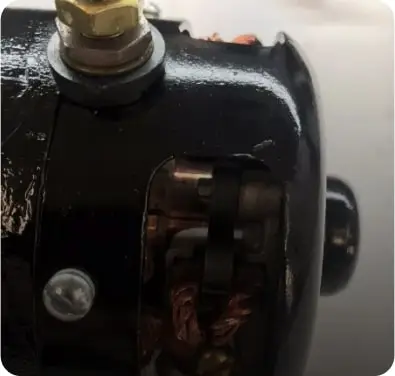
- Replace terminal post with SOLID COPPER post that I custom manufacture and silver solder it in.
- Completely rebuild brush holder plate, replacing all insulators and assemble with copper rivets
- Replace all screws and and all lock washers with new.
- Brush Terminal screws replaced w/ brass screws for better conductivity.
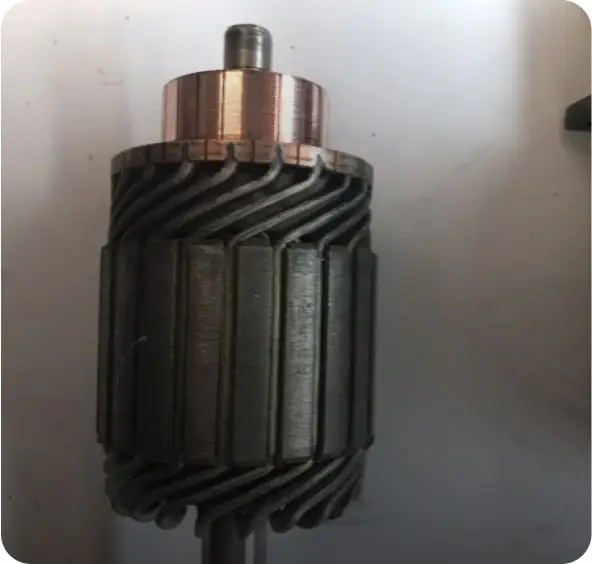
- Clean armature and take off ~10 thou on commutator surface or as needed on South Bend Lathe.
- Commutator final polished
- Fit armature into field coils for final clearance as needed.
- Replace Nose shaft bushing with new IMPROVED bronze bushing & neoprene seal to keep oil out of starter
- Replace Field coils with brand new field coils (NOT rewrapped)
- Replace terminal post insulator, washers and terminal post nuts
- Tap all holes with thread-chasing tap.
- Install 4 new brushes in brush plate.
- Pre-Test Armature on growler and check on lathe for straightness, true shaft as needed.
- Re-Test Armature on growler for shorts after cleanup.
- Fit back shaft with new sealed ball bearing & spacer for proper clearance.
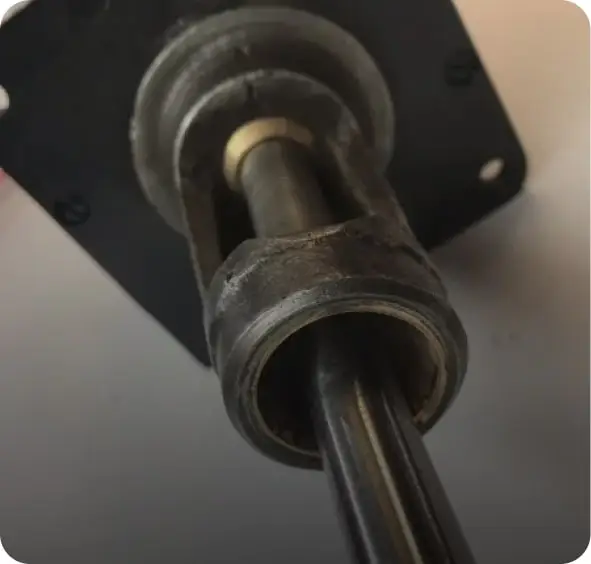
- Replace Bendix babbit bearing with new bronze insert. Mill and hone on lathe for correct alignment and Bendix fit.
- Final Paint ALL surfaces with gloss black enamel
- Check and adjust end play of assembled unit.
RUNNING-IN TESTING & ADJUSTMENT
- Test fit reconditioned Bendix (not included, keep and reuse yours)
- Run-in on bench to ensure all brush contacts are clean and true, bendix fits well and doesn’t bind.
